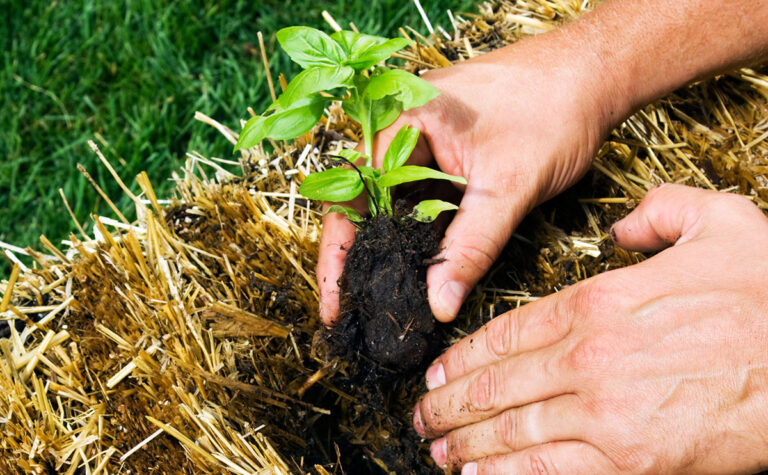
There are many expert gardeners who extol the virtues of using hay bales for the garden. There are many benefits of using them – especially in the vegetable patch.
Hay bales are grasses that have been dried, then baled. One minor drawback is there may be some seeds which fall from the bale and germinate, but this is not really so serious that it’d prevent their use! There are many different types of baled material – sugar cane, lucerne, straw, pea straw, mixed grasses, etc. It rather depends on your area and what is reasonably inexpensive to use.
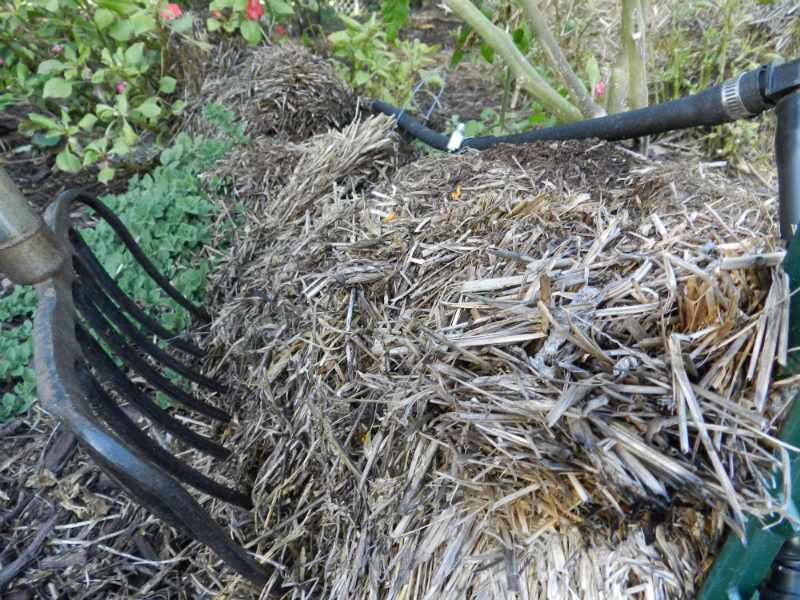
All baled material will break down and be of benefit to the soil – some though, do an even better job by adding a lot of nitrogen eg lucerne or pea straw as opposed to just straw which doesn’t really add that much apart from organic matter.
There are some different ways to use bailed material, for example:
A really good idea is to grow potatoes in bales. Position the hay bales in an area that receive at least 6 to 8 hours of direct sunlight a day. Because the potatoes are actually grown in the bale, the bale can be positioned in perhaps an area where the soil is unsuitable for gardening. There will of course, be water that drains from the bale so bear this in mind when positioning the bale.

Saturate the bale with water until it runs freely from the bottom. Repeat this procedure for 3 days. On day 4 sprinkle 1 cup of bone meal over the top of the bales and water thoroughly. Repeat this procedure for days 5 and 6. On days 7, 8 and 9, reduce the bone meal to 1/2 cup and water as usual. On day 10, sprinkle the bales with 1/2 to 1 cup of 10-10-10 fertilizer and water thoroughly. This speeds the decomposition process inside the hay bale and creates rich compost for growing the potatoes.
Make holes in the hay bale by gently pulling the layers of hay open. Check that the inside of the bale is warm, but not hot. During decomposition, the insides heat as they begin to break down, but it should have cooled off by day 10. If the centre does feel hot to the touch, wait another day or two before planting the potatoes.
Cut the potatoes in two or more sections with at least two ‘eyes’ on each section. Place the cut potatoes inside the bale to a depth of 10 to 15cm, spaced 15 to 30cm apart along the hay bale. Typically, four potato plants fit in one standard bale. Close the hay over the potatoes.
Water thoroughly until water runs freely from the bottom of the hay bale. The hay bales must be kept moist and may require daily watering. Running a soaker hose over the top or filling milk cartons with water and punching small holes in the bottom for water to drip on the bales works well too.
Apply a water-soluble fertilizer designed for vegetables once a week. Because nutrients leach from the bottom of the hay bale, regular fertilizer is necessary to provide growing plants with their needs.
Check for ‘new potatoes’ once the potato plants bloom. Gently pull back the layers of hay and harvest young potatoes. Close the layers and allow small potatoes to continue to grow. If you want mature potatoes leave them to grow until the foliage dies back and harvest fully grown potatoes then.
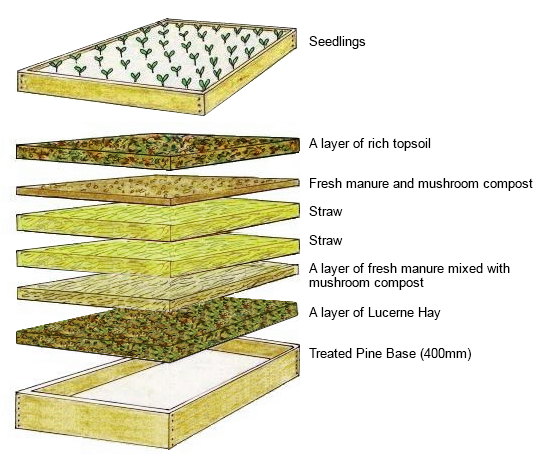
Another method is to make a no dig garden:
Esther Dean was a proponent in the 1970’s to the no dig garden, she wrote a book on this very subject.
The fundamental element in this type of garden is layering of different materials.
As shown in the image left there are layers of lucerne hay, manure, mushroom compost, straw, and a layer of topsoil or compost. There are many different configurations to a no dig garden, this is just one.
Bales can be used for shelter:
In the winter bales can be placed on the southern side of vegetables providing shelter and also the bale releases warmth for plants especially plants that produce during the winter months eg eggplants.
By placing bales on the northern side of vegetables, you obtain the reverse effect – that is offering plants some protection from the sun.
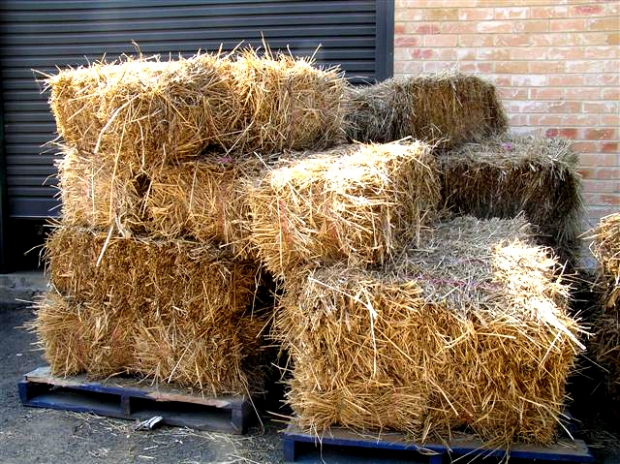
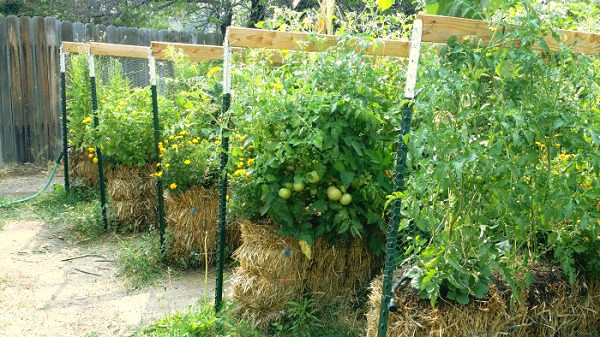
However, the most common use for bales is of course as a mulch. The benefits are many including:
- Increased biological activity within the soil.
- Maintaining the soil surface condition, eliminating problems of crusting and assisting with non-wetting soil.
- Reduced water evaporation arising from protection of soil from the drying effects of wind and sun.
- Improving organic matter, nutrient content, fertility, structure and water retention of soil.
- Eliminates splash, this is important in controlling fungal diseases especially.
- Smothers weeds and limits their chance of germination.
- Harbours beneficial predators.
- Reduces erosion by slowing the movement of surface water.
- Buffers extremes of soil temperature.

